Monday, April 30, 2018

A Whimsical Touch

Behind our camper is a large tree stump.  It can be seen out the back window in our living area.  I wanted to do a fairy garden display on it and began my search.

While browsing at Big Lots, I stumbled upon a cute gnome camping set.  This was it!  I splurged and bought it.

I also, bought Gorilla glue to attach the pieces to the stump.  I didn't want them blown into the creek.

I think it turned out cute and magical.


I added a little solar light to a hook so the little gnome campground can be seen at night.  I love looking over and seeing this little display!

Monday, April 23, 2018

Pisgah Forest Gem Mine

Our home school group traveled to Pisgah Forest Gem Mine to learn more about rocks and minerals.  What kid or even adult doesn't like to pan for gems?

When we arrived our host, Lisa, gathered the kids around to talk about types of rocks.  She explained the difference between igneous, sedimentary, and metamorphic rocks.


She explained how granite is an igneous rock that hardens underground.  Since it hardens underground it is considered an intrusive igneous rock.


Next, she showed them a piece of obsidian.  She told them that it hardens above ground.  Therefore, it is an extrusive igneous rock.

She then explained how geodes are igneous rocks that formed due to gas bubbles in the volcano.

Sedimentary rocks are typically found near water or places that had water when the rocks were formed.  They are made from mineral deposits being 'cemented' upon each other over time.


The kids learned that mica and talc are such rocks and they are used in everyday products.

The metamorphic rocks are those that go through many changes and found deep in the Earth.  Marble started off as limestone and worked its way down in the earth where the pressure and temperature changed the limestone into marble.


She told the kids that glass and mirrors are made of quartz, sand, and water.  The electronic chips used in all our technological devices contain quartz.  This special quartz is only produced in Spruce Pine, NC!

She showed them that glistening rubies start out as plain looking brown rocks.  Also, gems are measured in carats.  There are two types of carats - rough and cut carats.  Rough carats cost less than cut carats of course.  This is due to the fact that typically only twenty five percent of a rough carat gem stone is pure enough to be made into a cut carat jewel piece.

After the lesson on the different types of rocks and gems, the group made their way to the panning area.  There each student received a gallon bucket of mining material and began their search for gems.  They had a good time finding the treasure!


Next, the group was split into boys and girls.  We had almost an even number of each.  One group went inside to do experiments on the different rocks and minerals.  The other group picked out one of their gems to make a wire wrapped gem necklace.


In the experimental class, the students learned about rock classification.  They used streak plates and hardness testing.  They also checked to see if their rocks fluoresced.


The outing was a great way to learn more about geology and maybe piqued an interest for a future geologist!


Monday, April 16, 2018

Mapping Our Explorations

We went seasonal last year for camping and the plan is to stay seasonal.  We love our campground and there are plenty of places to hike and explore.  I love seeing the maps of the United States and how people add a state to their map when they camp in a new state.  Being seasonal, we won't be camping in other states.  So, I contemplated what I could do for our explorations in our area.

I decided to make a cork board map of the Blue Ridge Parkway that we would be exploring.  I went to Michaels and found a cute frame.  I bought a foam board that had a cork side attached.  Next, I went home and printed out three sections of my map.

Sizing the map to fit the window areas of the frame was the hard part. I didn't want the map to be too small.  I didn't want it to be to large and not have the places we were planning on visiting left out.  It took trial and error to get it just right. 


Once the sizing was perfect, I taped everything together for the final fitting.  Then I marked the foam cork board to cut to size.


Next, I glued the paper to the cork board.  Then I glued the frame to the cork board. I added four finishing nails to the backside to make sure the frame and foam cork board don't separate.


Finally, I bought map pins and began marking the places we had visited this past year.  The yellow pin marks our campground.  The blue pins mark the waterfalls we have visited.  The green pins mark places we have explored.  The white pins show historical sites we have visited.


Our adventure board is one of the first things you see when you walk in the Avalanche.  I love it!

Tuesday, April 10, 2018

A Few Mods to the Avalanche 365MB

Camping season has officially begun!  Now that I can access the Avalanche more, I am tweaking little things to make life a bit easier.  This is just another process of creating the home away from home we love for seven months out of the year.

The Zinger had large night stands on each side of the bed.  Our Avalanche has these little shelf night stands attached to the slide out frame.  Both hubs and I wear glasses.  Placing our specs on the minute night stand and keeping them there all night was a problem.  Roll over and move the covers, the glasses would fall.  Trying to find the glasses on the floor in the dark without stepping on them was an accident waiting to happen.  I had purchased these adhesive hooks from Amazon for another purpose, but started thinking how I could use them for our glasses problem.  I mounted the hooks to the top night stand area and they were perfect to secure our glasses at night!


Another issue I ran into was seeing the control panel in the dark.  In order to turn on the hall light, you must find the switch in the control panel.  So, I placed a LED puck light on the control panel door.  Easy fix!


The bathroom doors do not have locks.  It wouldn't be a big deal if kids would remember to knock, but you know kids!  I wanted to put a lock on the door leading to the hallway from the bathroom.  The sliding door to the bedroom isn't a problem.  The kids don't use that door.  I purchased a sash lock from the hardware store and installed it.  It works wonderfully!


We have a great spot in our Avalanche to hang keys and hats when you walk inside.  However, there really wasn't a good way to hang sun glasses.  I looked into several solutions, but wasn't satisfied with what I was finding.  I wanted something simple that could be mounted on the drop-off center.  That is when it occurred to me to use the hooks I had used in the bedroom for our glasses.  I placed the hooks on the frame of our entry drop off center.  It was perfect!  Right now I only put two hooks up, but if needed I will add more.


Finally, I love the added counter space in the Avalanche and did not want to clutter it with produce.  I purchased a wire hanging filing basket and mounted it under the island counter.  It works great and keeps onions and other produce contained and out of the way.


There are still things to do to our vacation home on wheels.  I love being able to make it more organized and fit our needs.

Click here for more mods I have done to the Avalanche.

Monday, April 9, 2018

Spring Time at Hatcher Gardens

Our homeschool group did a spring scavenger hunt at Hatcher Gardens.  We were hoping to see the spring blooms that we normally miss.  However, spring has been finicky this year and the plants seem to know that it isn't the right time to bloom.  We did however, see many daffodils, trees, and shrubs in bloom. 


This little piece of nature in an urban area brings a sense of peace to all that visit.  We love strolling the paths of the garden and listening to the waterfall!

Monday, April 2, 2018

Serpentarium Magic

Our home school group traveled to Mills River, North Carolina to explore Serpentarium Magic.  We didn't know exactly what to expect on this trip, but the kids were excited to see snakes.  Of course, snakes aren't everyone's favorite thing, but our kiddos love reptiles.


Our host explained the rules of the serpentarium.  No tapping on the terrariums and no running or yelling.  He also told the kids that all terrariums are marked telling the name of the reptile and if it is venomous or nonvenomous.  Once the rules were in place, he let them go into the two story building with over 120 terrariums.


The kids loved looking at all the reptiles.  There were lizards and snakes in all sizes.


They were fascinated with the rattlesnakes.  A few would start rattling their tails when people approached their terrarium.  We were amazed at how loud the rattle was through the glass.


The king cobra would hood up when there were groups in front of its enclosure.


They even had a two headed snake that the kids found intriguing.


After an hour of looking at all the terrariums, everyone gathered around for our host to begin a question and answer session.  We learned the difference between poisonous and venomous.  He was great at giving examples of each.


He then explained the types of venom, hemotoxin and neurotoxin, and how they affect a person.  The kids then wanted to know what was the most venomous snake they housed.


He discussed antivenom and explained how it was used.  We learned that anti-venom is quite expensive.  The main antivenom used in the United States is Crofab for pit viper bites.  This is for rattlesnakes, copperheads, and cottonmouths.  It is very expensive to treat snake bites.  Luckily, snake bites are fairly rare, especially where we live.

One student asked about the biggest snake and he showed them the small anaconda they had at the serpentarium.  He then talked about the pythons and how long they could become.  He used two students to show the length of various big snakes.

Another asked about the snake's tongue.  He explained how the snake used the tongue to smell and the Jacobson organ was part of that process.  He then passed around a picture to show the students what the Jacobson organ looked like.


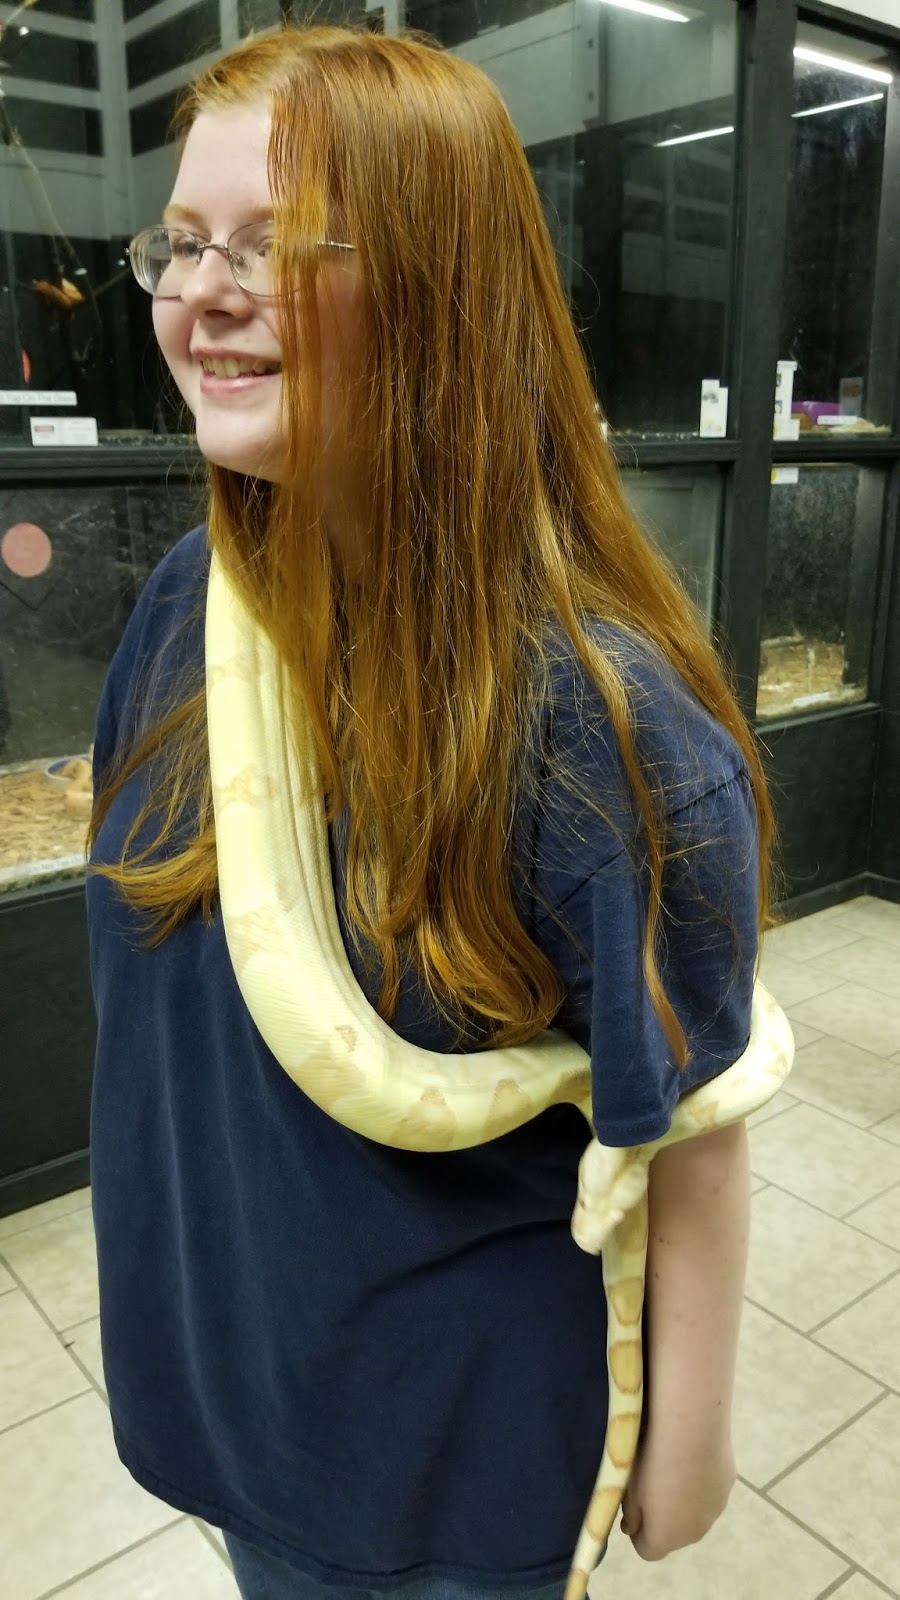
After the question and answer session, he brought out various pythons for the students to hold.  He explained how to hold the snake and why the snakes tighten around the arm or neck.  The kids loved getting to hold the snakes.


Finally, we went into the other room and he showed us a couple of tarantulas they had.  Just like with the snakes, he explained how the spiders defend themselves.  One brave student held the tarantula.


We spent over two and a half hours at the serpentarium.  It was a fascinating place and the kids loved it!  It is definitely a must do if in the area!